Your teeth are the anchor that sets your smile straight, and we do a lot to support them! Regular dental check-ups and cleanings keep you on the path to good oral health, but it all starts at home. It should be simple, but when braces and floss come into play, that path can feel a little challenging.
Flossing is fundamental to oral hygiene and avoiding periodontal disease, and that doesn’t change when you’re sporting the straightening power of braces. In fact, proper flossing becomes even more critical. You can use traditional floss with braces, but you may want to try a Waterpik, floss threader, or dental tape.
The Importance of Flossing
Brushing your teeth is one of the best ways to remove harmful bacteria before it hardens into plaque and tartar. But as you’re scrubbing away, those bristles can miss the spaces between your teeth. That’s where flossing comes in to clear out the gaps.
While braces are synonymous with the quest for a straighter smile, their wires and brackets can create tiny nooks and crannies that are havens for food particles and plaque. Regular flossing is a powerful weapon against tooth decay, gum disease, and the bad breath that these trapped bits of food can incite.
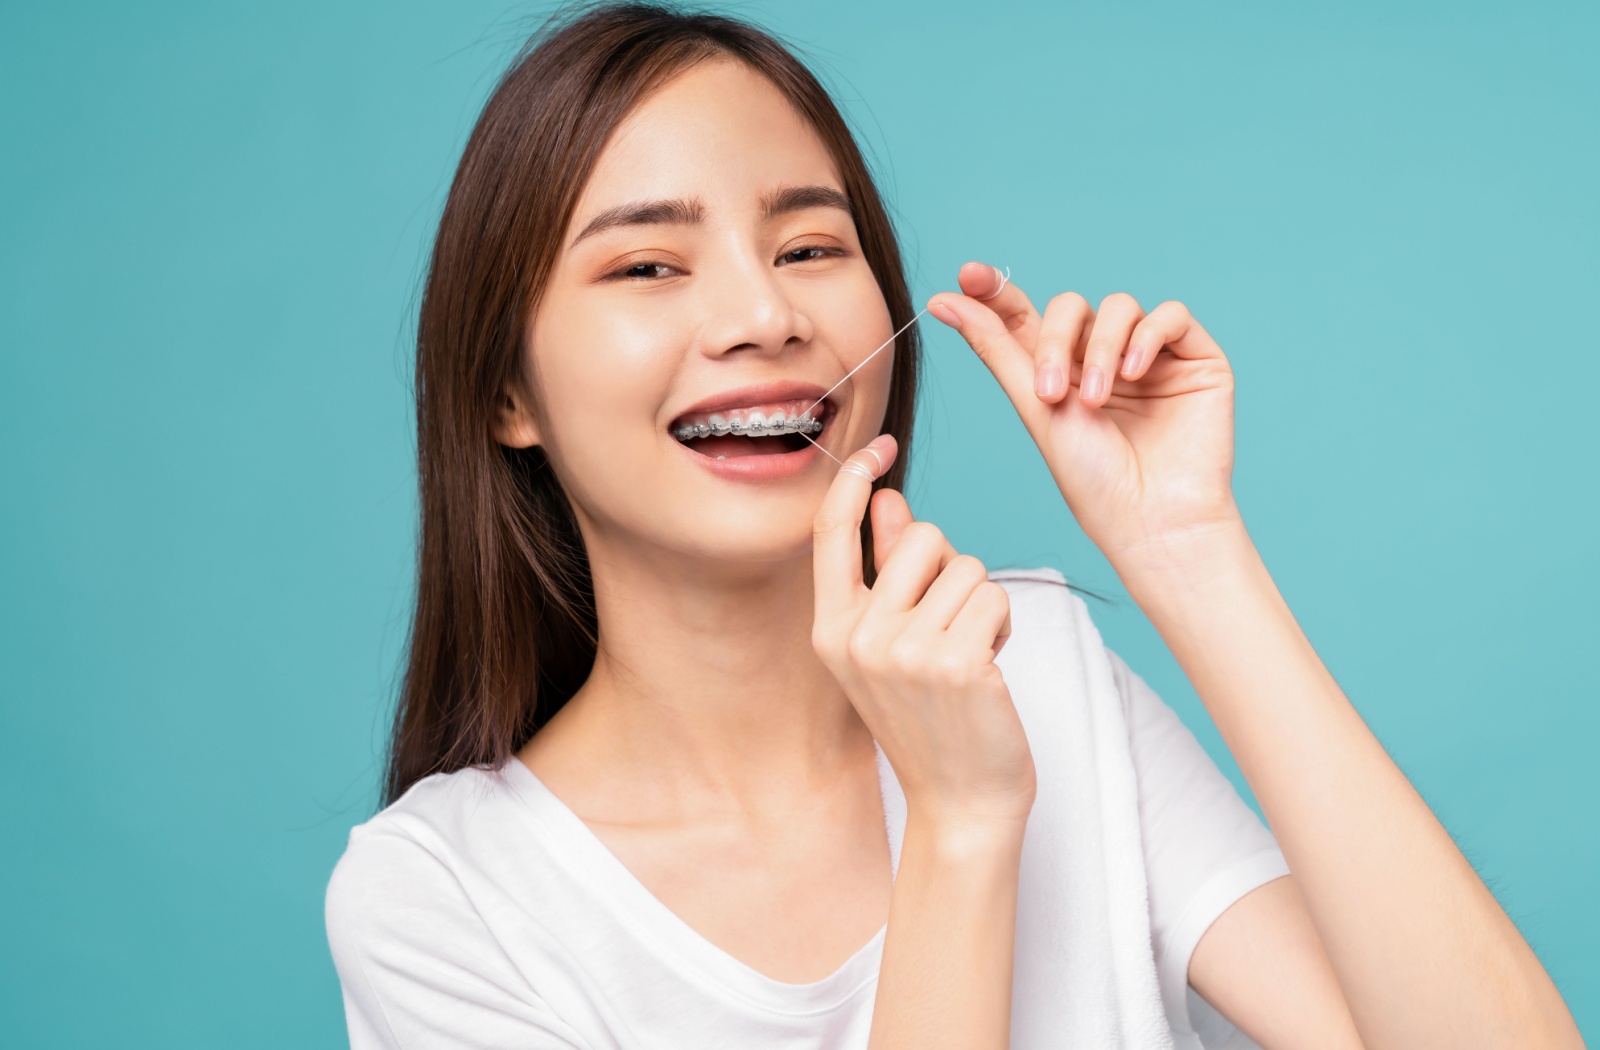
Flossing with braces, as any bracket-and-wire-enhanced individual can tell you, requires patience and perseverance. The difficulties of flossing with braces are many. The wires make it harder to achieve a gentle back-and-forth motion, and the arch of metal across your mouth makes accessing each tooth more of a puzzle.
Add into the equation the peculiar tricks the tongue and cheeks can play with bits of floss, and you’ve got a daily flossing saga on your hands. The challenges may seem significant, but the rewards of a healthy, radiant smile are well worth the effort.
A Guide to Flossing with Braces
Like with any job, you need to pick the right tools for the trade. In addition to your trusty floss, you may need:
- Floss threaders: Threaders are thin loops that help floss slip neatly between your braces so you can reach the gum line and tooth surfaces.
- Water flossers: Water flossers, such as a Waterpik shoot streams of water to clean between teeth and braces.
- Dental tape: If flossing proves painful for certain areas, dental tape is an ultrathin floss that can glide between teeth. It may be ideal for people who didn’t routinely floss before getting braces and are dealing with sensitive gums.
Choose the tool that is most comfortable and effective for you.
Proper Flossing Technique
The trick to flossing with braces is all in the approach. Here’s how to do it:
- Use around 18–24 inches of floss. It should reach from your hand to your shoulder.
- Thread the floss under the wire. This is where threaders come in handy, simplifying the process, and you can wrap the floss around your fingers for more grip.
- Gently move the floss up and down the tooth surface, beneath the gum line. Make a “C” shape around each tooth to help you reach every crevice.
- Avoid snapping the floss with your braces. It can damage the wires and brackets.
- Use a clean section of floss for each tooth.
Floss between each tooth, even the hard-to-reach ones. Plaque and food particles can cause just as much damage there as on your visible teeth.
Flossing with a Waterpik
Using a Waterpik, also known as a water flosser, can effectively clean around braces, bypassing some of the hassles of traditional flossing. Here are the steps to using a water flosser:
- Begin by filling the Waterpik’s reservoir with warm water, which can help prevent sensitivity.
- Use the orthodontic tip designed specifically for braces as it helps remove plaque around the brackets and wires more efficiently.
- Start with the lowest pressure setting and gradually increase to a comfortable level. Too high pressure can be uncomfortable, especially at first use.
- Turn the Waterpik on and lean over the sink to catch the splashback. Keep your mouth slightly open to allow the water to flow out.
- Trace the Waterpik tip along the gum line and around each bracket. Don’t forget the back sides of your teeth where plaque also accumulates.
You may need to repeat the process a few times. Water flossers can still miss some plaque, so complement it with a bit of traditional flossing.
Troubleshooting Tips for Difficult Areas
Even the best-laid plans can falter when a piece of popcorn takes up residence in your braces. Instead of getting frustrated, keep some of these troubleshooting tactics in your back pocket:
- Be patient: Take your time to slip the floss under the wires properly. Rushing may lead to ineffective cleaning and potential damage to your braces.
- Use a mirror: Seeing what you’re doing can help you ensure no tooth or bracket gets left behind.
- Ask for help if you need it: It’s okay to need a hand—especially when learning a new skill like flossing with braces. Your dentist can offer advice and techniques to ease the process.
Cheers to Healthy Teeth & Gums
Flossing with braces has a bit of a learning curve, but once you master the technique, it becomes as routine as brushing your teeth. The investment of time and effort now can mean avoiding dental problems later—and make the time you’re wearing braces a much smoother experience.
If you’re ready to take your oral hygiene to the next level with your braces, don’t go it alone! Palermo Village Dental can guide you through your dental journey so your smile’s not only straight but also healthy and bright. Book your appointment today and experience care that makes you proud to show off your smile.